“Wild, Amazing Chess Games” typically refers to chess games that are characterized by unexpected moves, brilliant tactics, and often stunning conclusions.
Below is a more detailed definition:
Characteristics of Amazing Chess Games
Unexpected Moves
-
- Players make surprising, unconventional moves that may seem counterintuitive.
- These moves can catch opponents off guard, leading to exciting, unpredictable outcomes.
Complex Tactics
-
- The games involve intricate and advanced tactical play.
- Players may sacrifice material for positional or tactical advantages, leading to complex and unclear positions.
Brilliant Combinations
-
- Players execute a series of moves that work together to achieve a specific goal, often leading to a sudden victory.
- These combinations showcase deep calculation and insight into the position.
Stunning Conclusions
-
- The games often end in a dramatic and unexpected manner.
- Players may deliver a sudden checkmate or turn a losing position into a winning one.
Creative Strategies
-
- Players employ novel and creative strategies that deviate from traditional chess principles.
- These strategies contribute to the unpredictable and exciting nature of the game.
Let’s check out some examples:
Example #1: Caro-Kann Defense, Mindeno Variation, Retreat Line
Here is a game out of the Caro-Kann Defense where white goes down up to 7 points of material.
Yet it maintains and extends a huge positional edge by sacrificing material irrelevant to the attack.
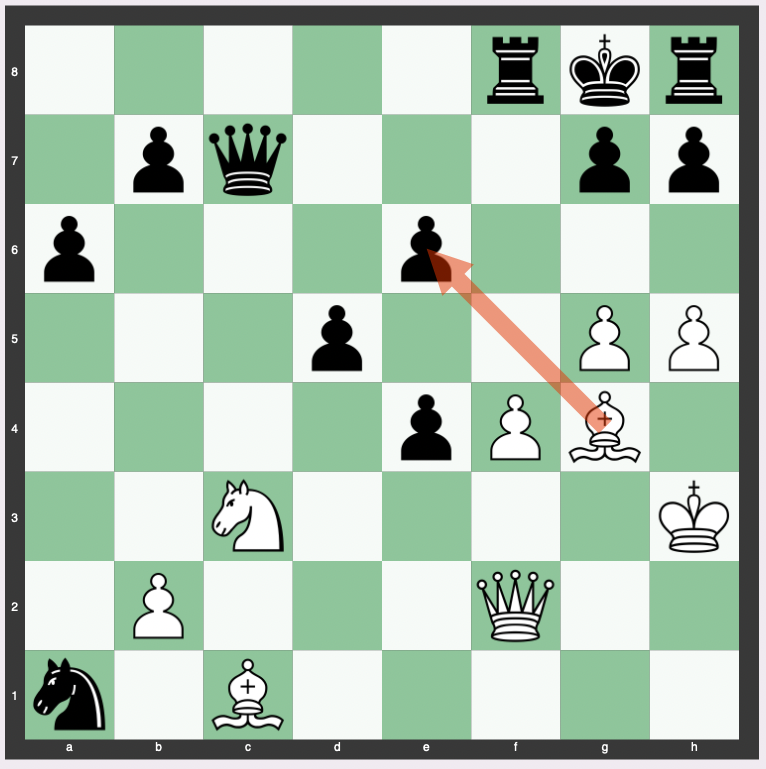
Modern engines have opened up interesting lines within the Retreat Line of the Mindeno Variation, such as the following where white sacrifices its rook for a bishop to open up active lines (line listed under the diagram):

Black will eventually lose the bishop for a pawn via the continuation:
16… Ne7 17. f3 h6 18. Kf2 a6 19. Bd3 Nc6 20. Qc5+ Qe7 21. Kg3 Bxg4 22. fxg4
Or:
16… Ne7 17. f3 a6 18. Kf2 Kg8 19. Kg3 Rf8 20. Bd3 f6 21. Kxh3
White will continue to press its pawns on the kingside along with its minor pieces and queen.
Sacrifices in such an imbalanced position can be wild, where white can go into a deep material deficit due to them being irrelevant in the attack on black’s king:

Also notice how white breaks a popular rule of chess in not moving your queen to the same rank as an opponent’s rook (because it can open up tactical and strategic issues if that file is opened up).
However, white knows what it’s doing.
This is the point where white is at a deficit of 7 points of material before launching this attack.
And through this stunning tactical continuation:
27. Bxe6+ Rf7 28. Qa7 Qe7 29. Qa8+ Qf8 30. Qxb7 Qe8 31. Qxd5 Nc2 32. Nxe4 Kf8 33. Bxf7 Qxf7 34. Qc5+ Qe7 35. Qxc2
White makes up the entire material deficit.

Full game – Caro-Kann Defense: Two Knights, Mindeno, Retreat Line:
1. e4 c6 2. Nf3 d5 3. Nc3 Bg4 4. h3 Bh5 5. exd5 cxd5 6. g4 Bg6 7. Ne5 Nc6 8. d4 e6 9. h4 Nxe5 10. dxe5 Bb4 11. h5 Be4 12. Bb5+ Kf8 13. Rh3 Qc7 14. a3 Bg2 15. axb4 Bxh3 16. Qd4 Ne7 17. f3 a6 18. Kf2 Kg8 19. Kg3 Rf8 20. Bd3 f6 21. Kxh3 fxe5 22. Qf2 e4 23. Be2 Nc6 24. f4 Nxb4 25. g5 Nxc2 26. Bg4 Nxa1 27. Bxe6+ Rf7 28. Qa7 Qe7 29. Qa8+ Qf8 30. Qxb7 Qe8 31. Qxd5 Nc2 32. Nxe4 Kf8 33. Bxf7 Qxf7 34. Qc5+ Qe7 35. Qxc2 Kf7 36. f5 Qe5 37. Qc4+ Ke7 38. Ng3 Rd8 39. g6 h6 40. Qf7+ Kd6 41. Bd2 Rd7 42. Bc3 Qd5 43. Qf8+ Kc6 44. Bxg7 Rd8 45. Qe7 a5 46. Bxh6 Kb5 47. g7 Rg8 48. f6 Qd4 49. f7 Rxg7 50. Bxg7 Qc5 51. Qxc5+ Kxc5 52. f8=Q+ Kd5 53. Qc8 a4 54. Bf8 Ke5 55. Qf5+ Kd4 56. Qe4#
The final position:

– 1. e4 c6 2. Nf3 d5 3. Nc3 Bg4 4. h3 Bh5 5. exd5 cxd5 6. g4 Bg6 7. Ne5 Nc6 8. d4 e6 9. h4 Nxe5 10. dxe5 Bb4 11. h5 Be4 12. Bb5+ Kf8 13. Rh3 Qc7 14. a3 Bg2 15. axb4 Bxh3 16. Qd4 Ne7 17. f3 a6 18. Kf2 Kg8 19. Kg3 Rf8 20. Bd3 f6 21. Kxh3 fxe5 22. Qf2 e4 23. Be2 Nc6 24. f4 Nxb4 25. g5 Nxc2 26. Bg4 Nxa1 27. Bxe6+ Rf7 28. Qa7 Qe7 29. Qa8+ Qf8 30. Qxb7 Qe8 31. Qxd5 Nc2 32. Nxe4 Kf8 33. Bxf7 Qxf7 34. Qc5+ Qe7 35. Qxc2 Kf7 36. f5 Qe5 37. Qc4+ Ke7 38. Ng3 Rd8 39. g6 h6 40. Qf7+ Kd6 41. Bd2 Rd7 42. Bc3 Qd5 43. Qf8+ Kc6 44. Bxg7 Rd8 45. Qe7 a5 46. Bxh6 Kb5 47. g7 Rg8 48. f6 Qd4 49. f7 Rxg7 50. Bxg7 Qc5 51. Qxc5+ Kxc5 52. f8=Q+ Kd5 53. Qc8 a4 54. Bf8 Ke5 55. Qf5+ Kd4 56. Qe4#
This game is a quintessential example of a wild, amazing chess game for several reasons:
1. Piece Sacrifices:
- Move 15 (Bxh3): White sacrifices a rook to open up the game and eventually traps the bishop to get the material back, a subtle and deep idea.
- Move 26 (Nxa1): White allows the rook to be captured, going down 7 points in material but gaining positional advantages.
2. Material Deficit:
- White gets into a material deficit early in the game, a risky strategy that requires precise play and deep calculation to ensure compensation.
- Despite being down in material, White’s active pieces and control over key squares allow for a counterattack.
3. Exploiting Lack of King Safety:
- Black’s decision not to castle proves to be a significant disadvantage.
- White exploits this by opening lines and creating threats, keeping the Black king in the center and vulnerable.
- Move 12 (Bb5+): White checks, forcing the Black king to move, losing the right to castle and compromising king safety.
4. Deep Calculation:
- White’s play demonstrates foresight and deep calculation, particularly in the decision to sacrifice material for activity and king safety.
- Move 21 (Kxh3): White’s king captures the bishop, showing confidence in king safety and the ability to counterattack despite the exposed king.
5. Pawn Promotion:
- White skillfully ushers a pawn towards promotion, further destabilizing Black’s position.
- Move 52 (f8=Q+): White promotes a pawn to a queen, equalizing material and increasing attacking chances.
6. Checkmating the Black King:
- Despite the early material deficit, White successfully navigates the complexities of the position.
- Move 56 (Qe4#): White delivers checkmate, showcasing the successful conversion of positional advantages into a winning endgame.
Summary
This game exemplifies the beauty of chess, where material sacrifices and deep calculation can lead to stunning victories even from seemingly disadvantageous positions.
The game highlights the importance of king safety, the power of active piece play, and the strategic depth required to convert positional advantages into a win, making it a truly amazing chess encounter.
Related

